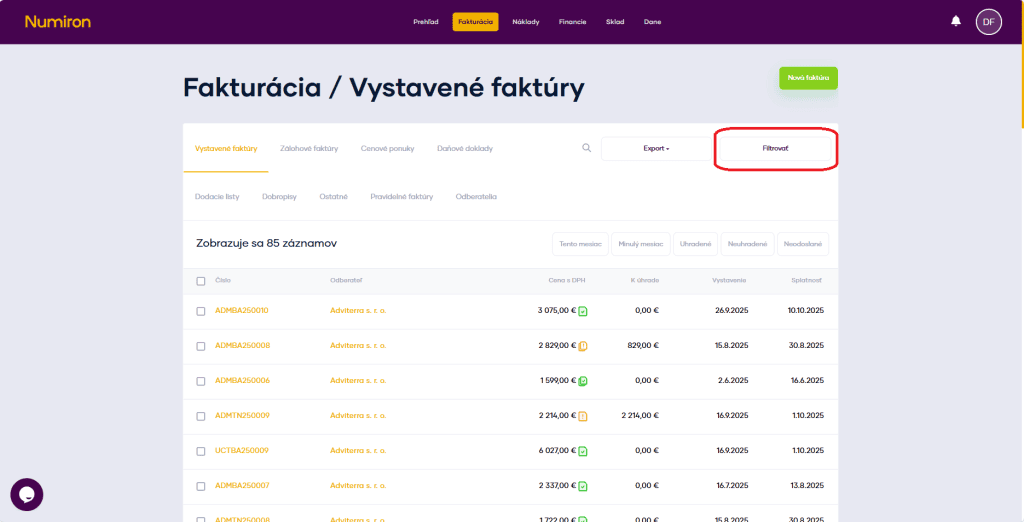
In each section of the Invoicing agenda there is a button above the list of documentsFilter.
Click this button to open the detailed filter options. There are also quick filters just above the list of documents that let you filter documents with a single click.
2. How filtering works
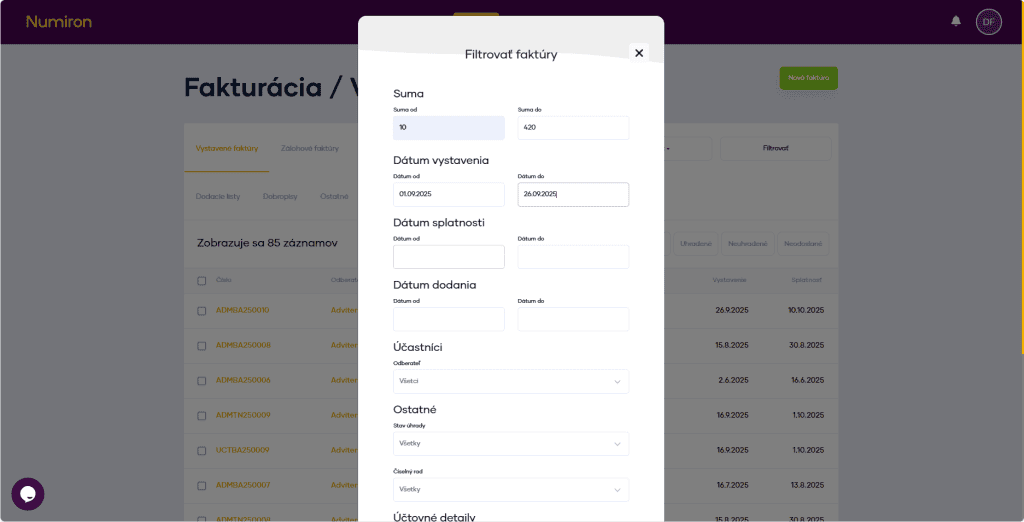
Click on the button Filter opens the Advanced Filter mode.
Here you can narrow down the selection by:
dates (issue, delivery, due date),
sums,
reimbursement status,
of the customer,
numerical series,
and others.
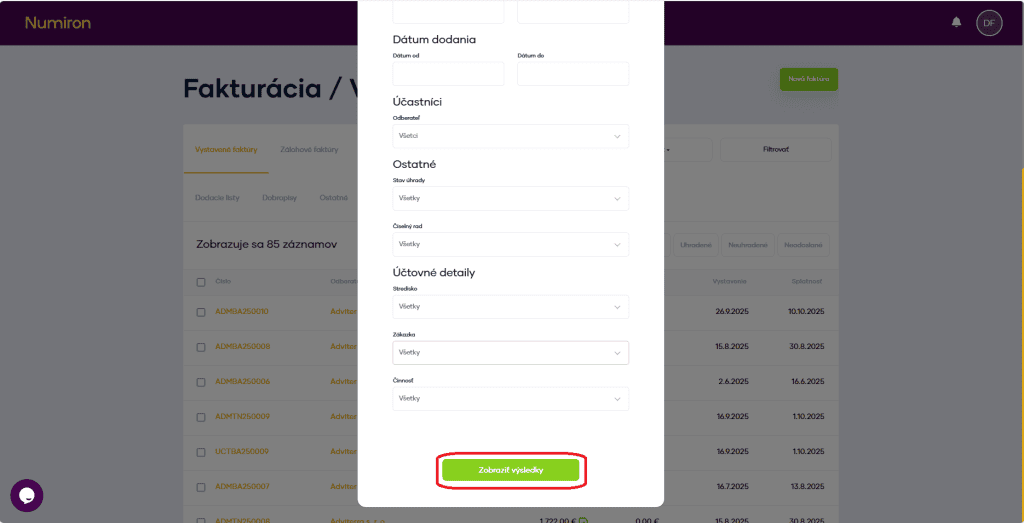
To apply the filter, click on the green button Show results.
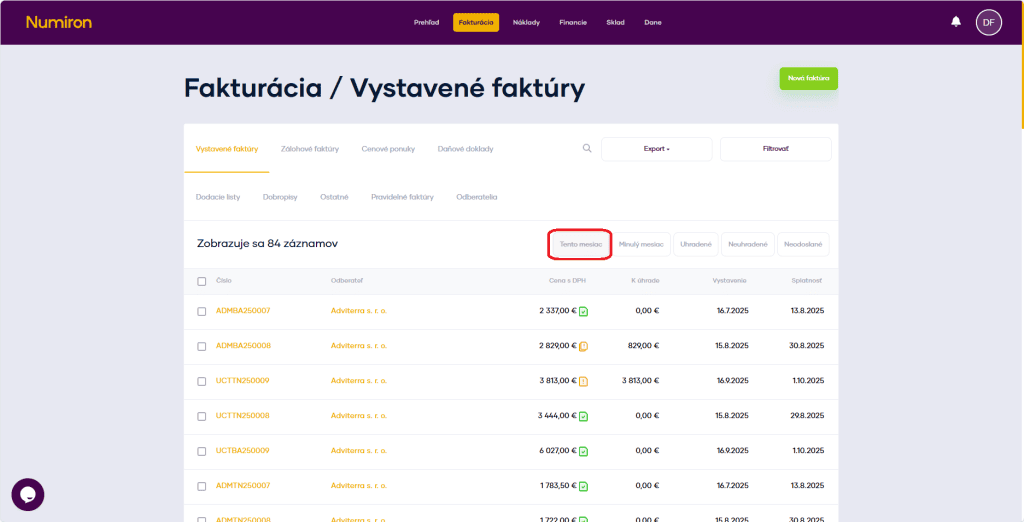
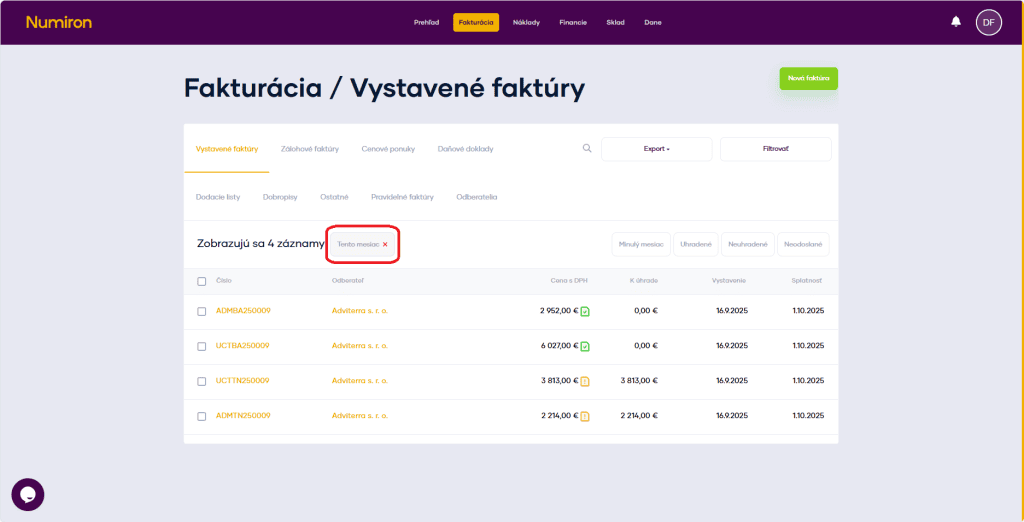
When you click on the quick filter, the filter is applied immediately. Filters can also be combined.
To cancel the filter, click on x to the right of the number of records displayed.
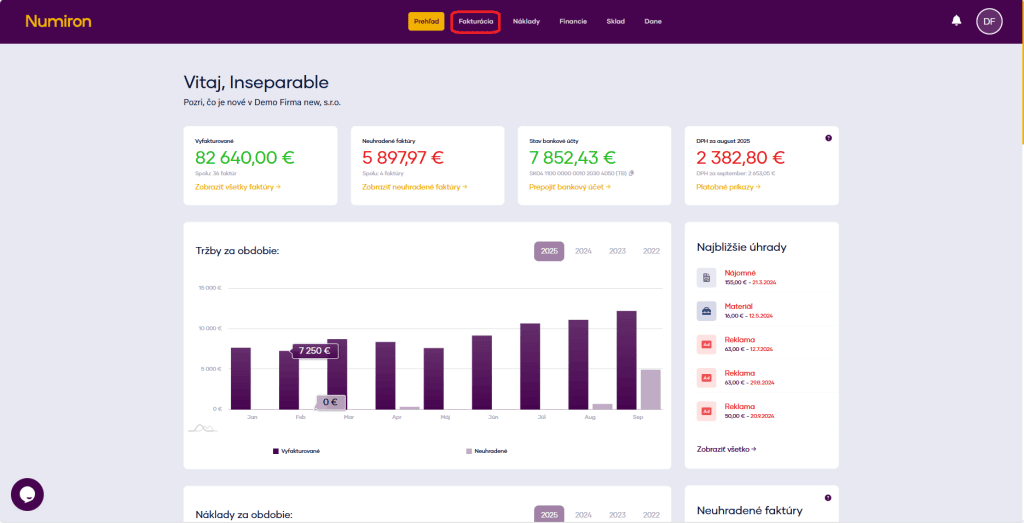
All your documents are under your control in one place. In Numiron Invoicing, you simply mark up an invoice, invoice in advance, quotation, credit note, delivery note or tax document - and work with them straight away. With just two clicks, you can take the desired action instantly. Quick, clear and without unnecessary searching.
How to edit an already created document
1. Where to find the editing option
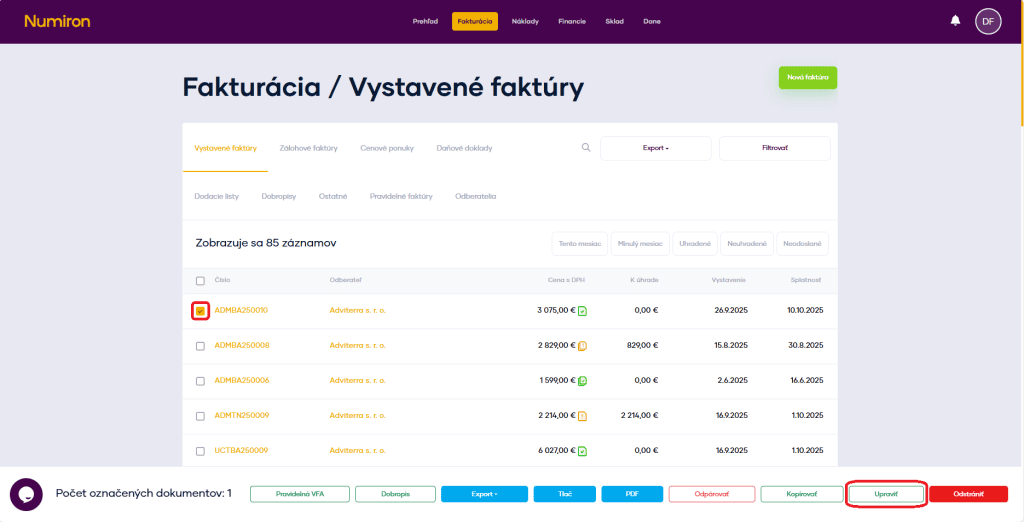
To mark a document, click on the square to the left of the document number. Once selected, you will see an options bar/panel at the bottom. Here you click Edit. It will then take you into document editing mode.
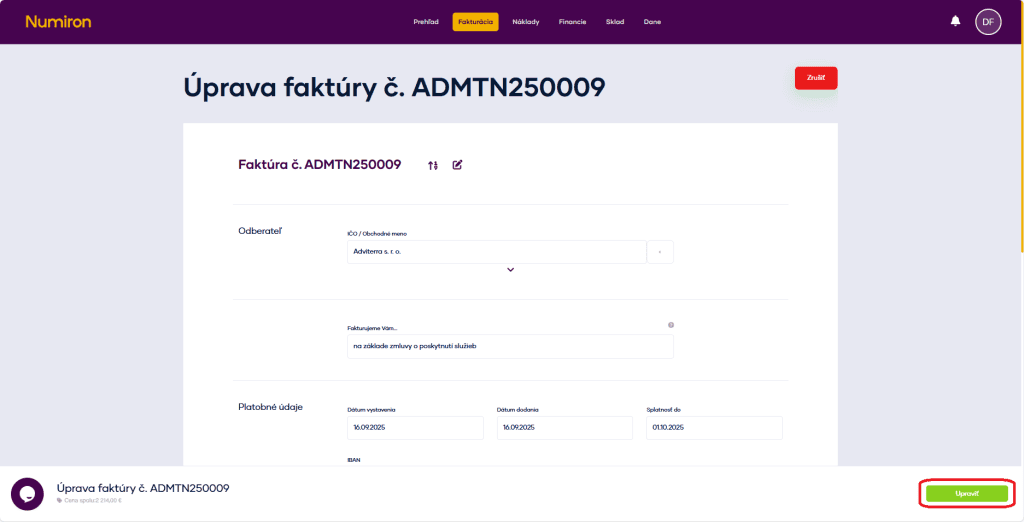
2. Edit the document
The document editing mode is visually identical to the document creation mode. You can edit all document data, except when the document is paired.
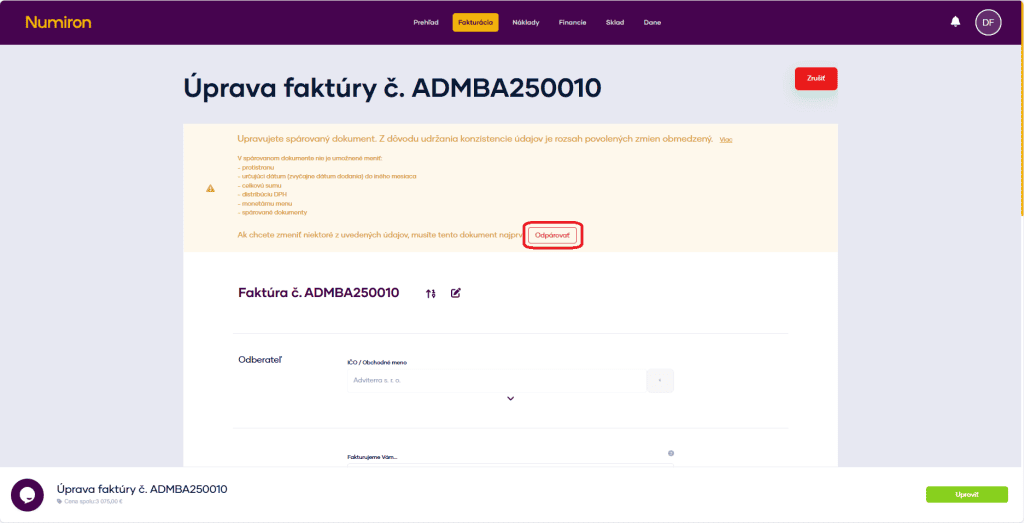
The paired document cannot be modified:
counterparty,
the date (usually the date of delivery) to another month,
the total amount,
distribution of VAT,
monetary currency,
paired documents.
To make such modifications, the document must be unpaired.
How to save time by copying
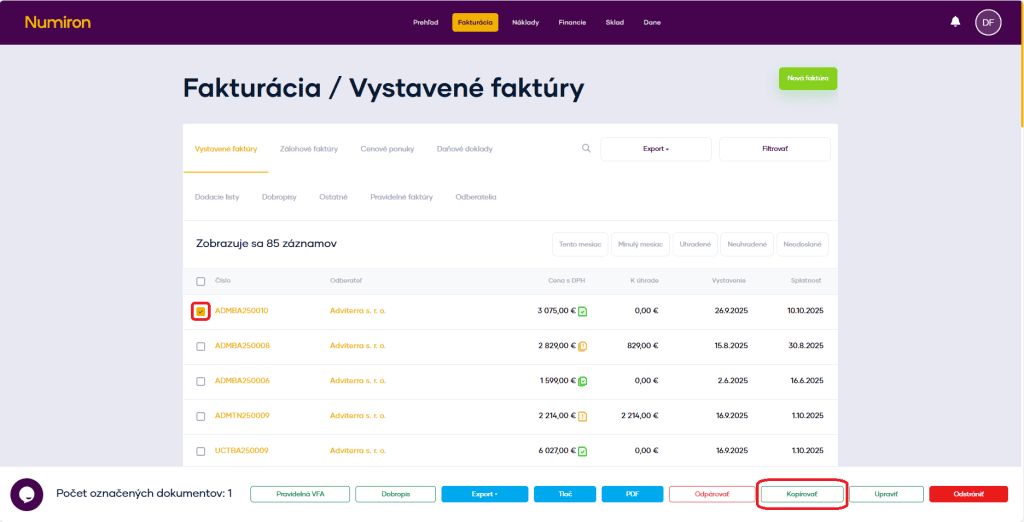
1. Where to find the Copy option
To mark a document, click on the square to the left of the document number. Once selected, you will see an options bar/panel at the bottom. Here you click Copy.
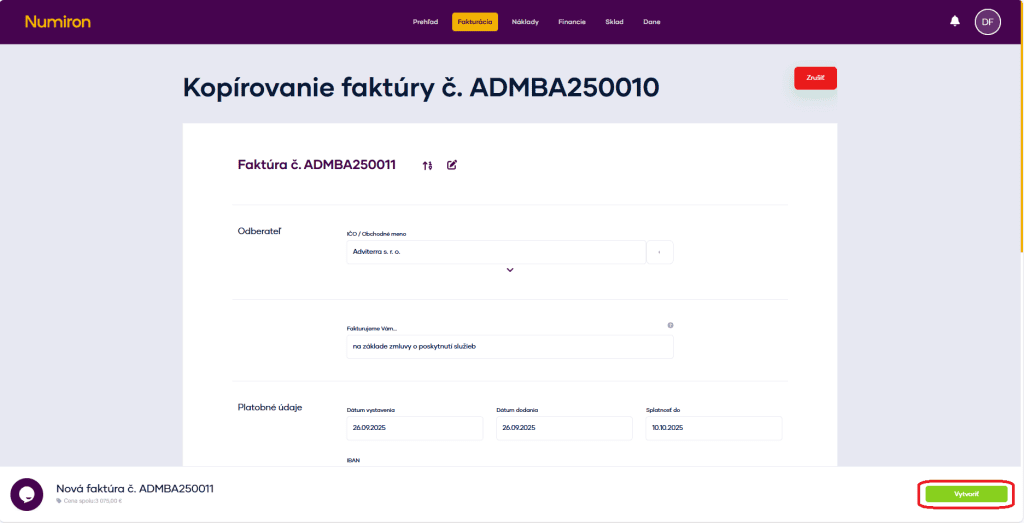
2. Copying a document
Click the copy button to start creating a new document that will upload all the data from the original document with the updated dates.
You can change the necessary data and create a new document.
Copying documents saves a lot of time if you create several similar documents
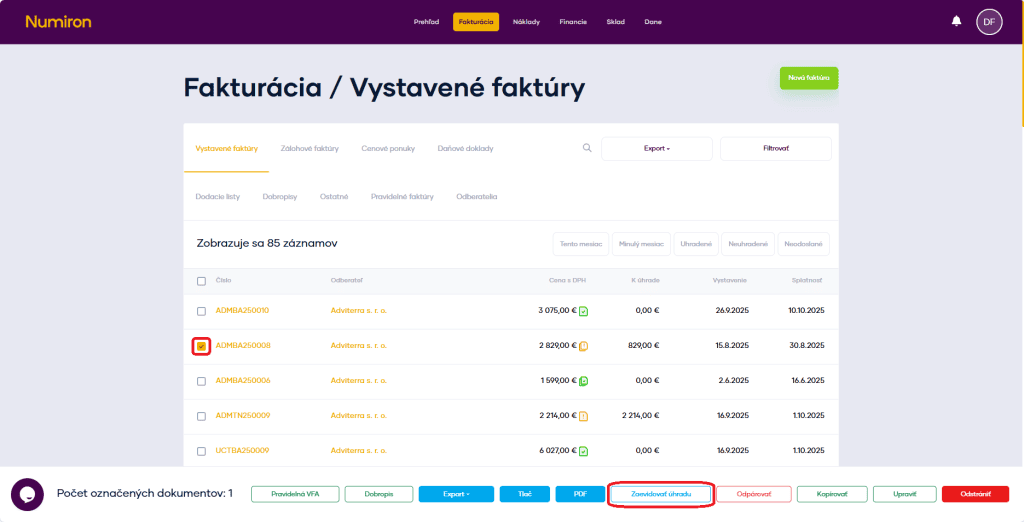
How to manually record reimbursements if necessary
Click on the button To register the payment open the manual reimbursement registration mode.
Fill in the date of payment and the method of payment (bank transfer, cash, card...).
Click on Create a transaction.
Use: when the payment is outside the automatic matching (e.g. when paying in cash).
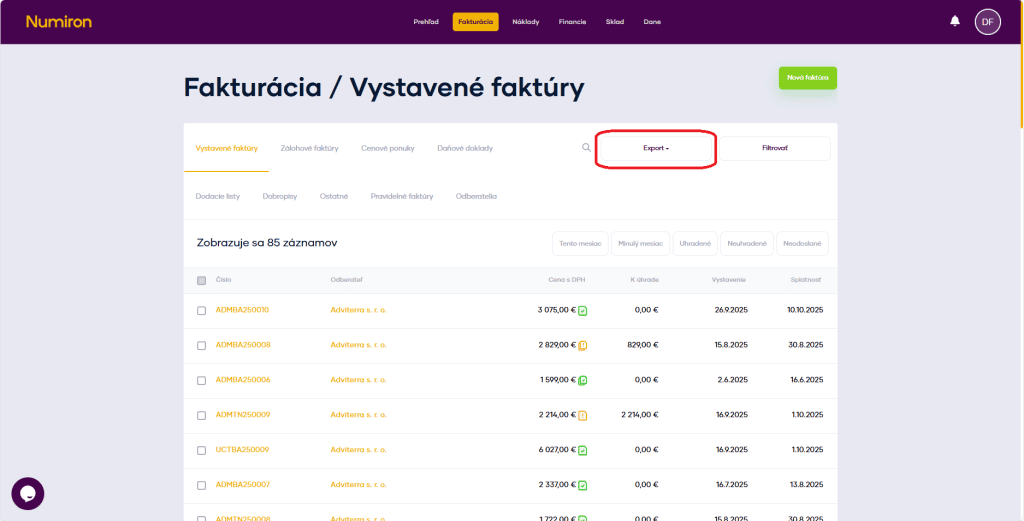
Export of documents
You can export documents in two ways:
Export marked documents - select multiple documents in the list and click Export.
Export all displayed documents - use the button Export above the list (next to the filter) to export the entire selection by filter or the complete list for the period.
In Numiron, you can easily connect the entire sales process. From the first quotation, through the advance invoice to the final invoice. In this way you avoid repeated data entry and everything is clearly linked.
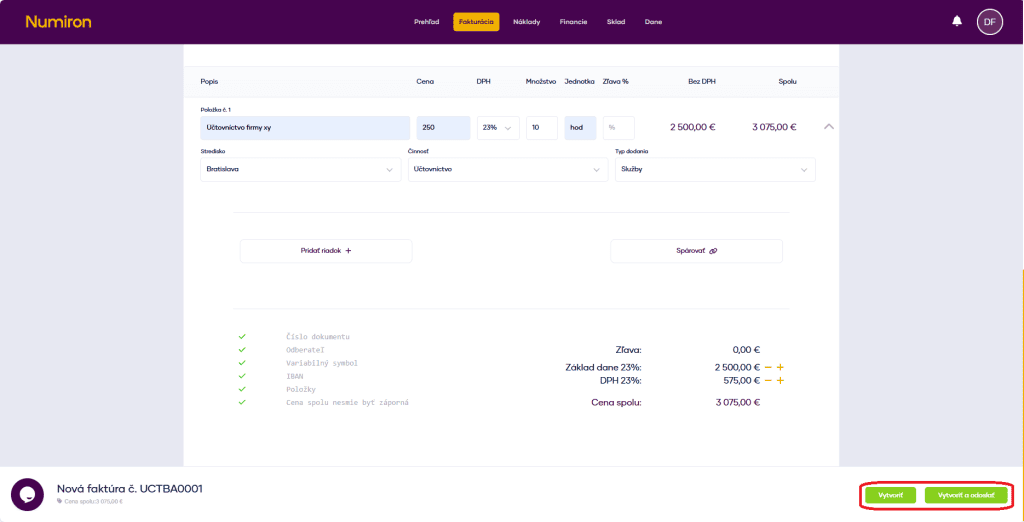
1. Creating a quotation In the menu, go to the agendaInvoicing - Quotationsand click on the buttonNew price offer.
In the form you enter the customer, the date of issue, the validity of the offer and fill in the items with price, quantity and VAT. After checking the data, create the offer.
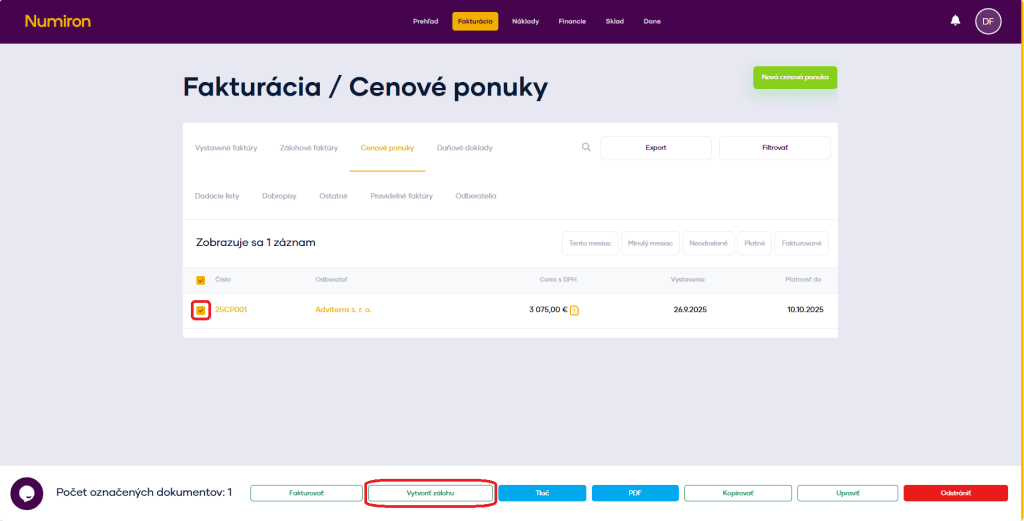
2. Issuing an advance invoice from the quotation In the list of offers, select the one you need and at the bottom of the screen selectCreate a backup.
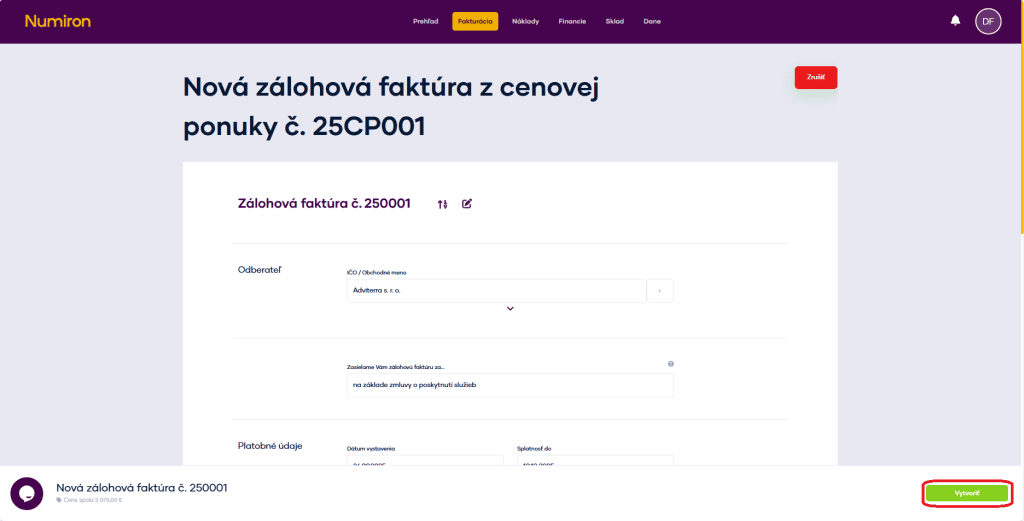
This will open the form with all the data from the offer already pre-populated. Just check them and confirm the creation. At this point, the documents will be automatically linked.
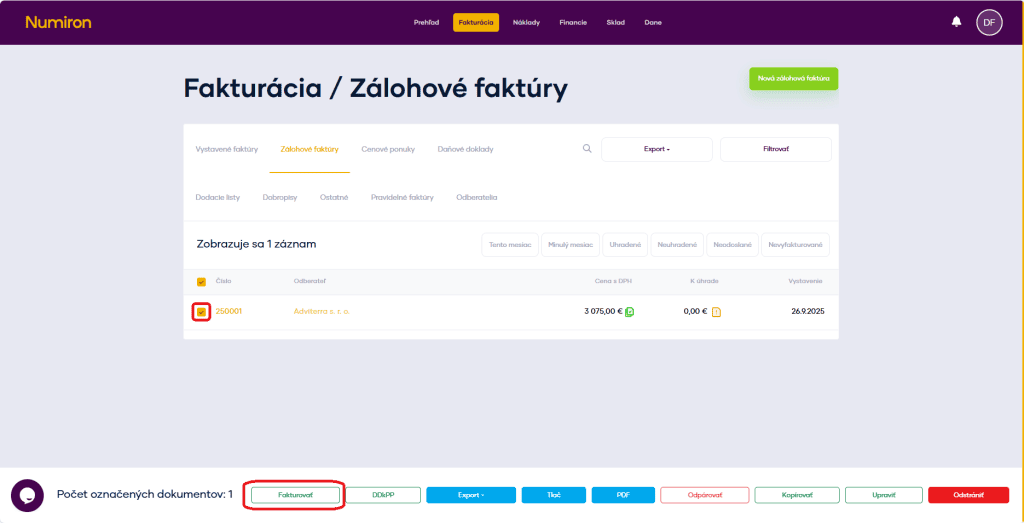
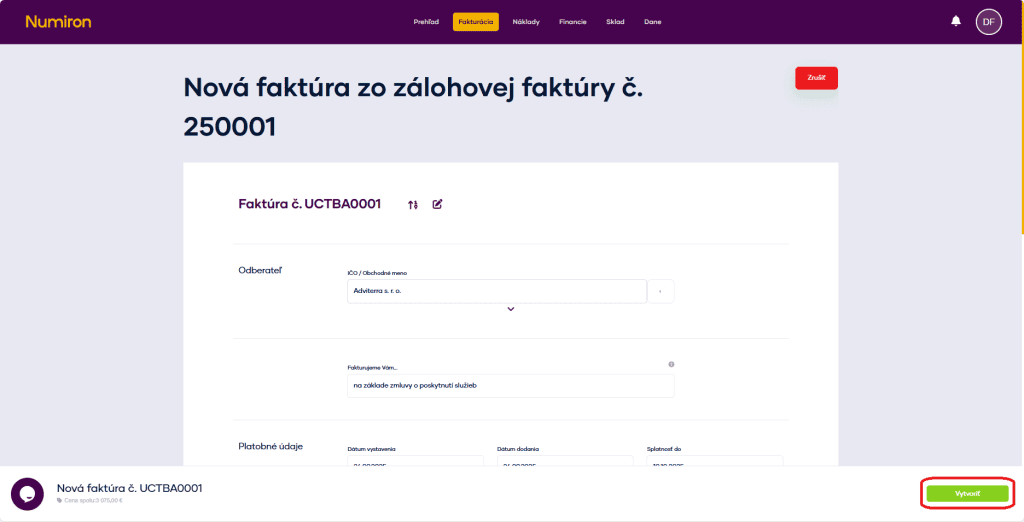
3. Transfer to invoice Once the advance invoice has been paid, you can transfer it to the invoice issued. Highlight the document and selectInvoice.
This will open a form with pre-populated data. You just check them and confirm the creation.
If you frequently issue documents to the same clients, save time by presetting your subscribers in Numiron. You have two options for this:
Method 1: Saving the subscriber directly when creating the document
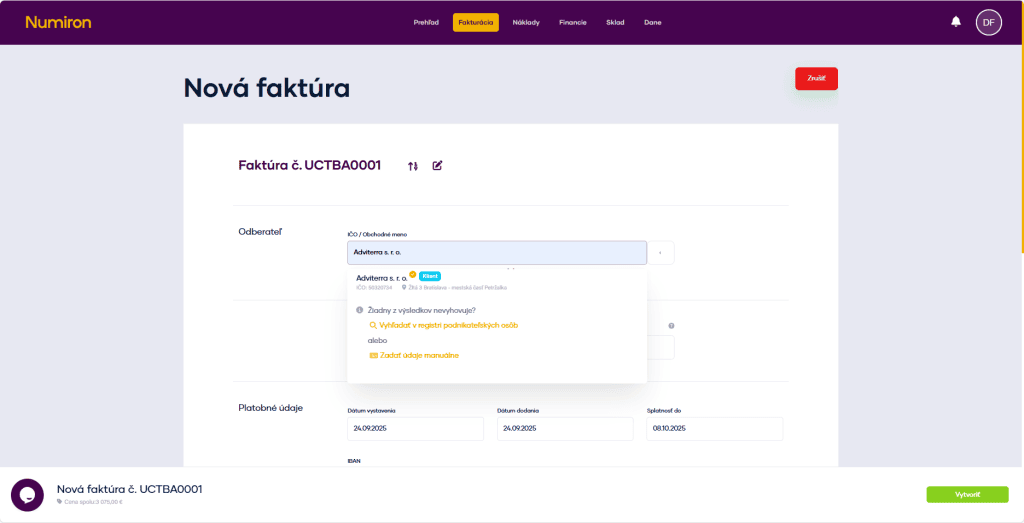
1. Fill in the field Customer When you create a document, type in the fieldSubscriberID number or business name. The system automatically retrieves data from public registers. If the customer is not in the register, fill in the data manually.
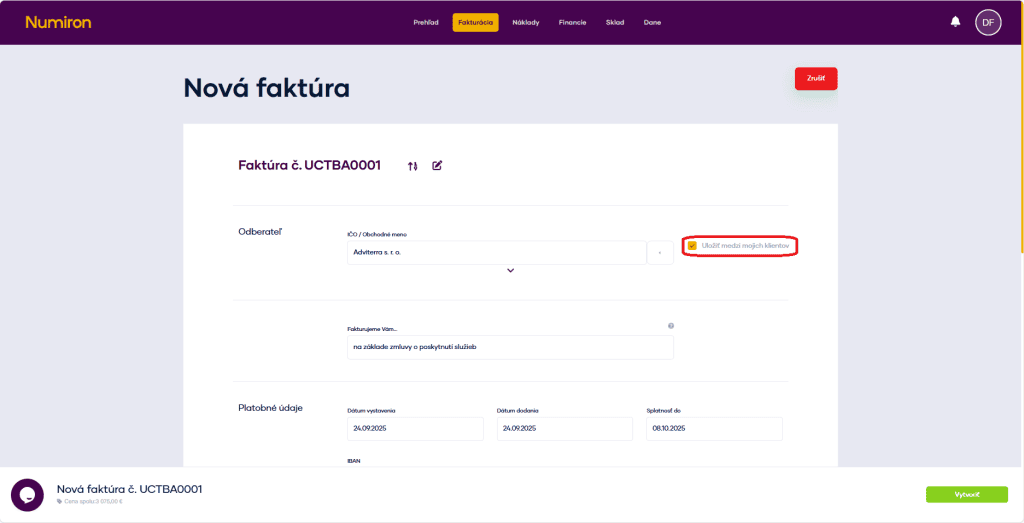
2. Save the client After the data has been loaded, a button will appear next to the subscriber's nameSave among my clients. It is automatically checked.
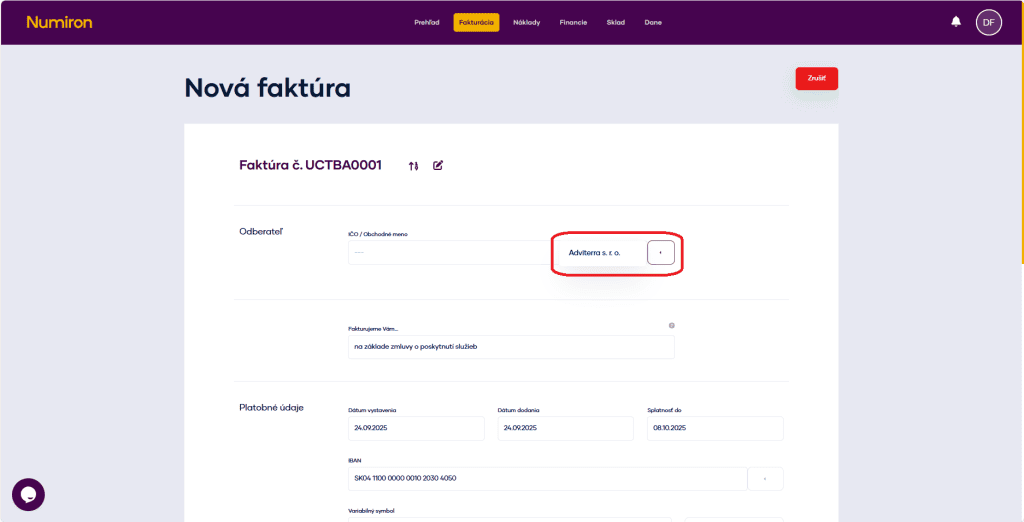
3. Select a saved subscriber The next time you create a document, just click the arrow next to the typing field and select the subscriber from the saved ones.
Method 2: Subscriber presetting in a separate section
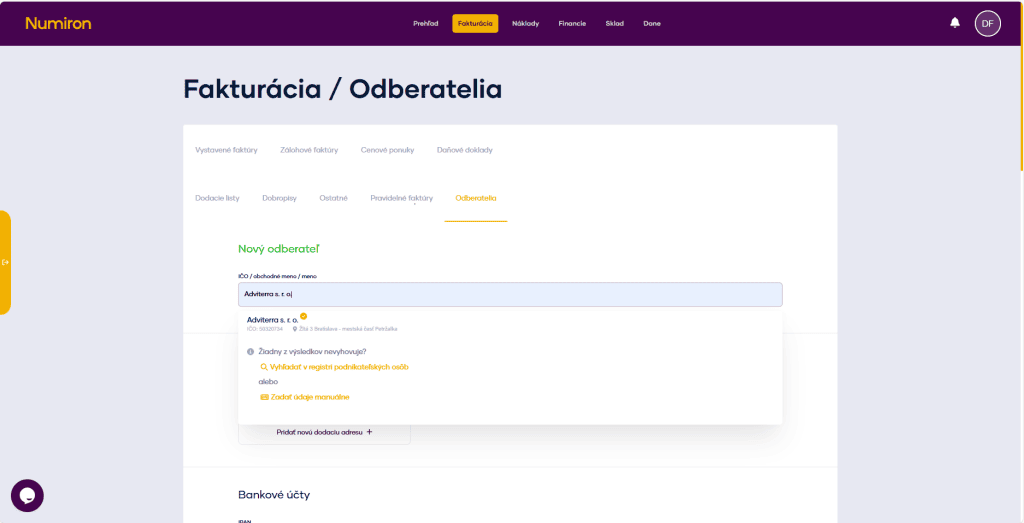
1. Go to Invoicing - Subscribers In the main menu, click on the agendaInvoicingand select the sectionSubscribers. A list of existing subscribers will be displayed.
2. Add a new subscriber PressAdd subscriberin the bottom left corner.
3. Enter basic data Enter the registration number or business name (the system retrieves the data from the registers). If the customer is not in the register, fill in the data manually.
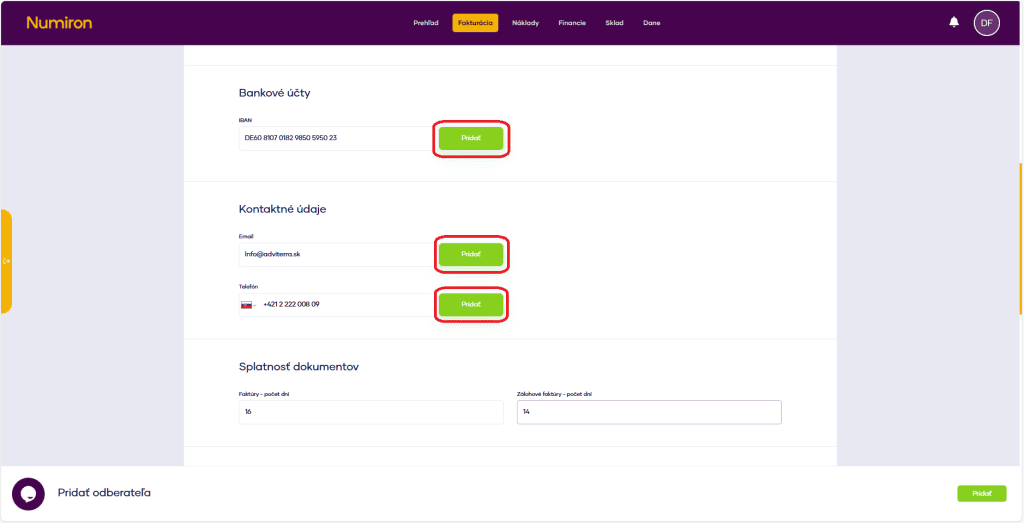
4. Set data for future documents These preferences are automatically added when creating invoices, quotes or credit notes:
delivery address,
bank account (IBAN),
contact details (e-mail, telephone),
documents due,
main revenue category (business focus),
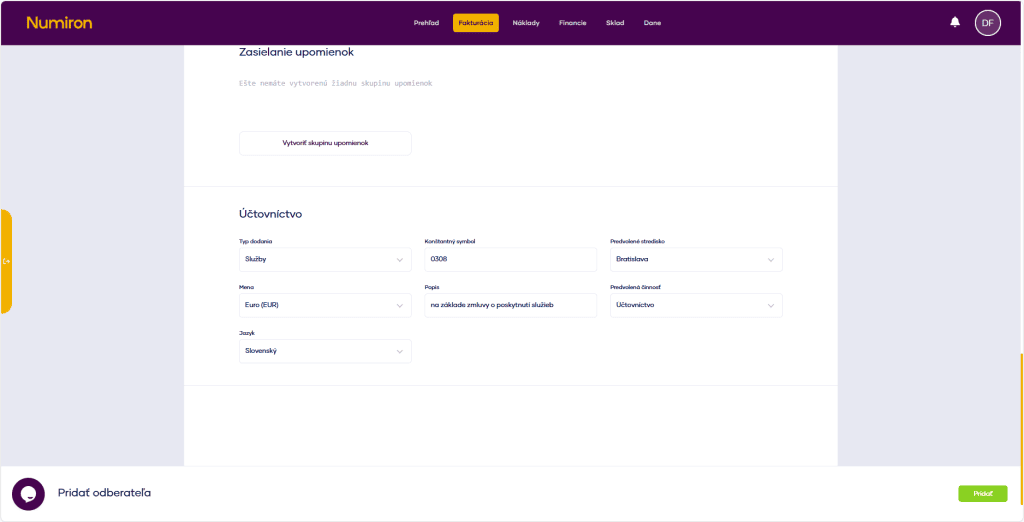
reminders (if you use the reminders functionality).
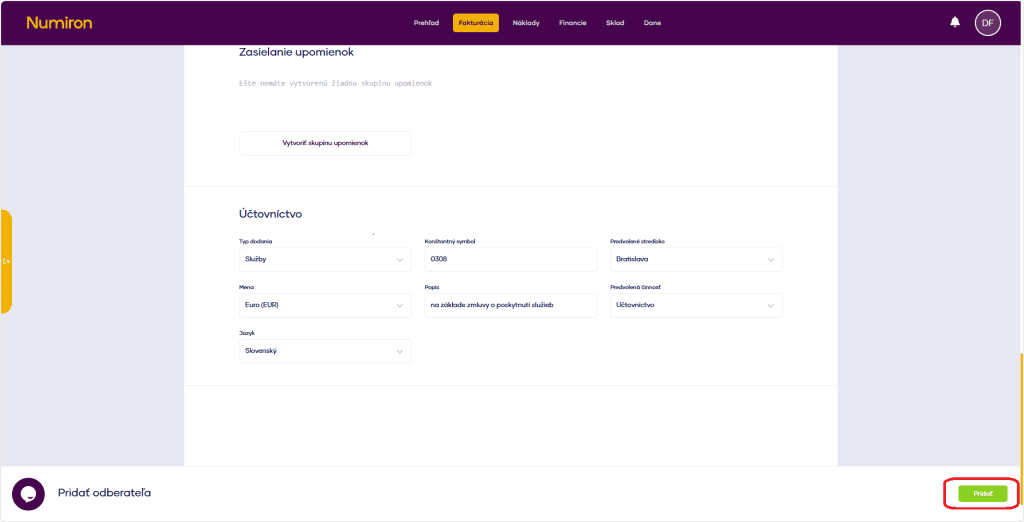
5. Setting accounting preferences
type of delivery,
Names,
the language of the document,
constant symbol,
default description,
centre, contract, activity.
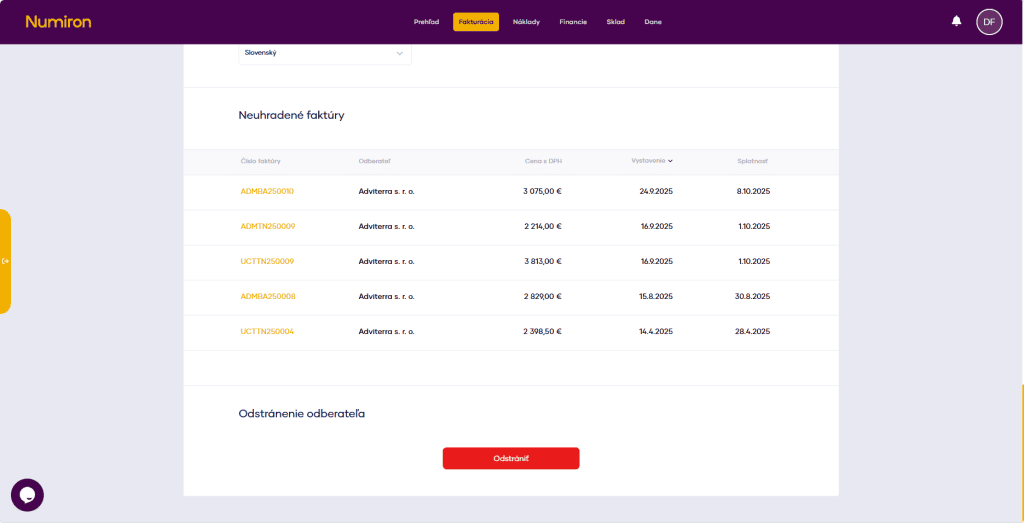
6. Overview of outstanding invoices You can also see all outstanding invoices of the client in the customer list.
7. After editing, you need to save the changes with the button Add, which will appear in the bottom right corner
Other receivables represent claims for payment that do not arise from the normal sale of goods or services. In Numiron, you can create them quickly, clearly and precisely according to your needs.
1. Where to find other claims
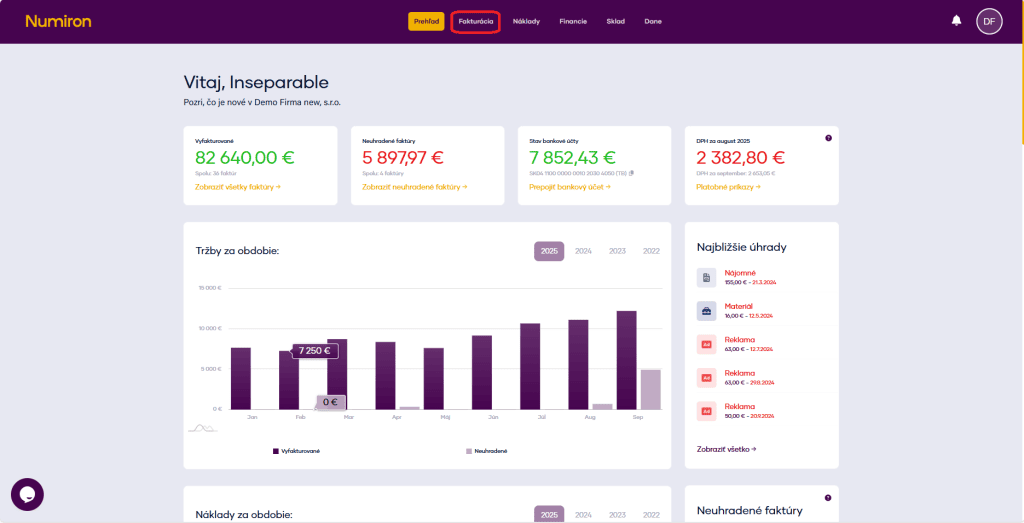
In the main menu, click on Invoicing and select Other.
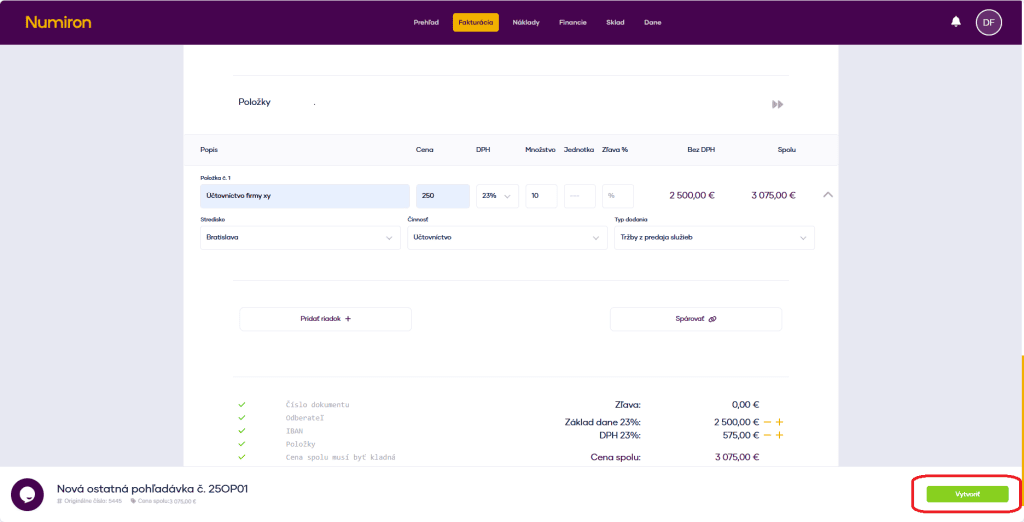
2. Creating a new claim
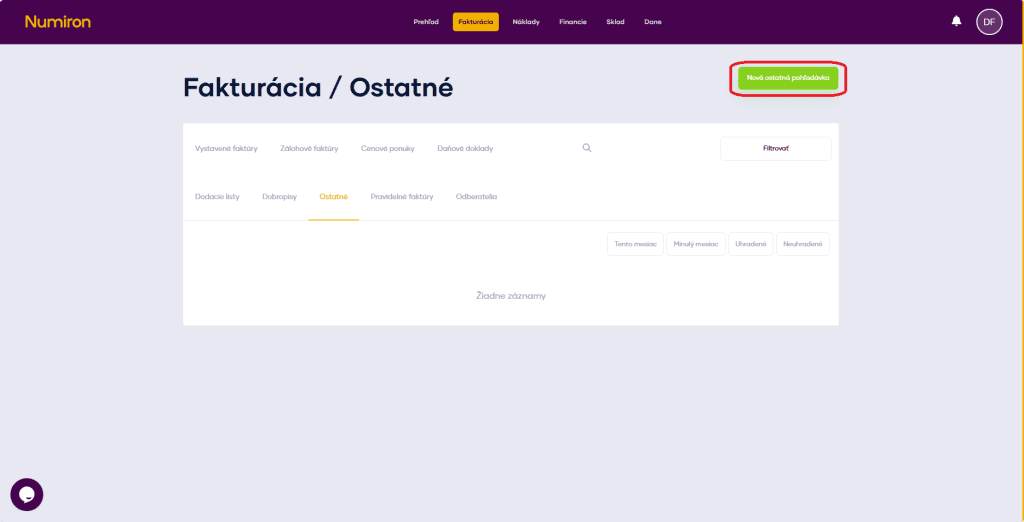
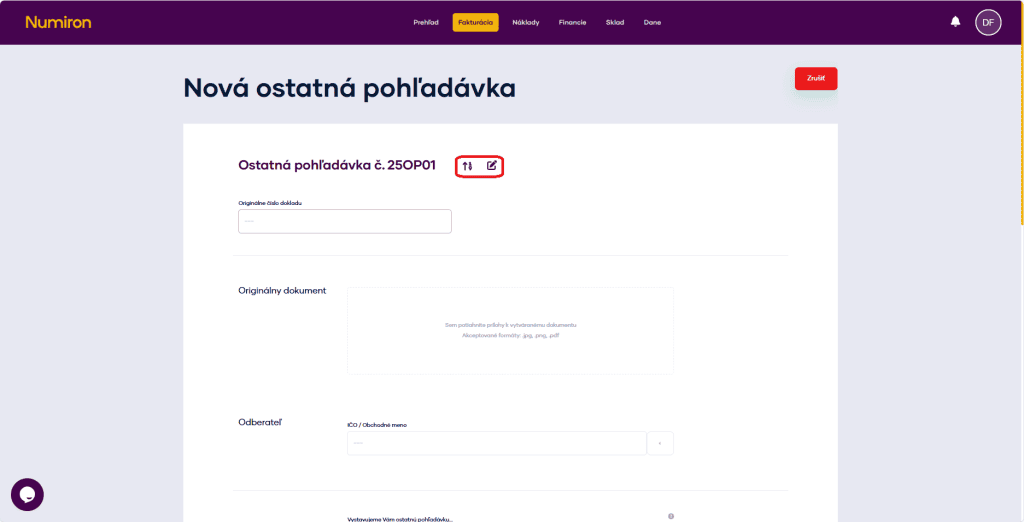
Press New other receivable at the top right of the screen.
3. Basic data
Numeric range - select a preset range or enterdocument numberManual.
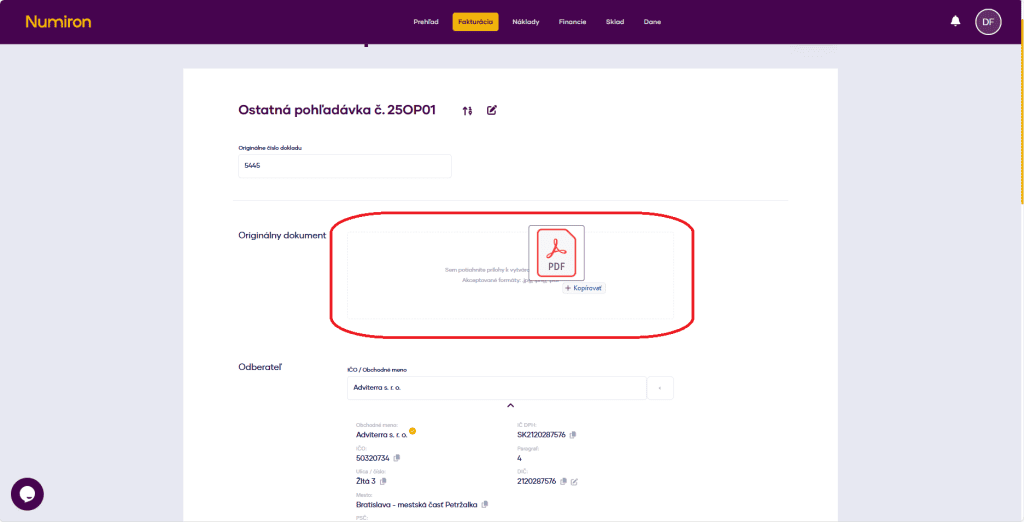
Original document number -enter the original document number.
Original document -insert original document in .jpg, .png, .pdf format in the upload field.
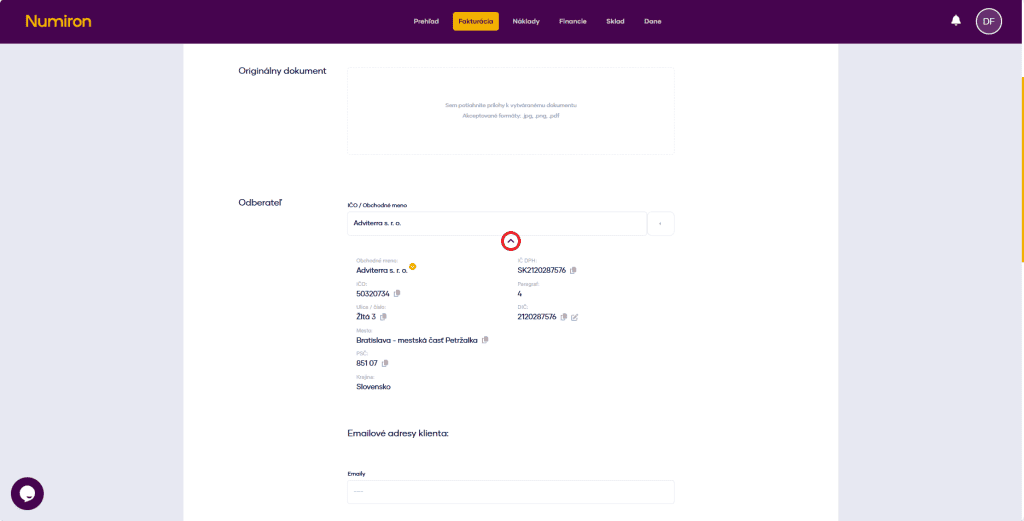
Subscriber - enter the company ID or name, or select from the saved contacts. Use the arrow below the name to check the details.
We are sending you the last claim... - fill in the text that appears in the PDF header.
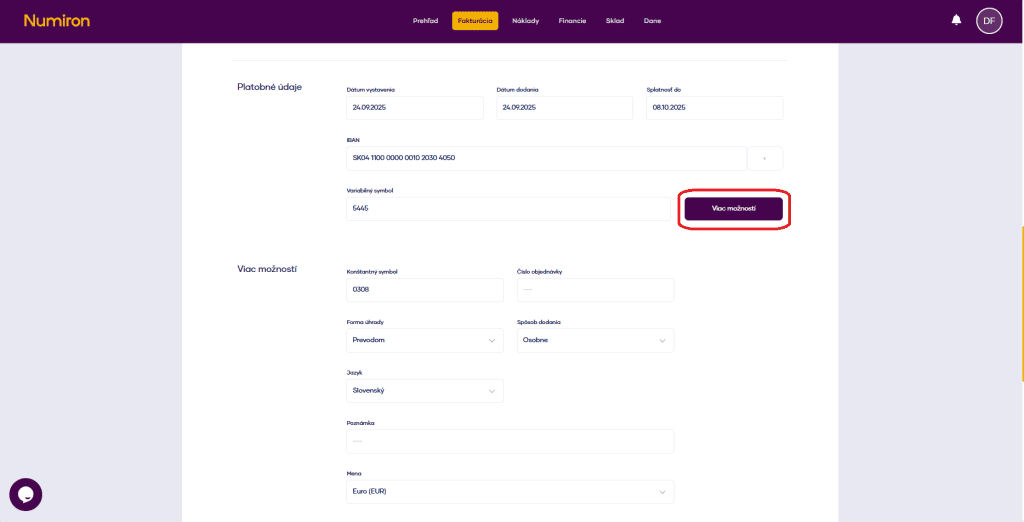
4. Select dates and payment details:
date of issue,
date of delivery,
due date,
fill in IBAN, it is automatically uploaded according to the one stored in the system but can be manually changed,
variable symbol - vis automatically filled in by document number but can also be changed manually.
5. Multiple options (optional)
Click on More options and add:
constant symbol,
order number,
form of payment,
method of delivery,
the language of the document,
Comment,
Names.
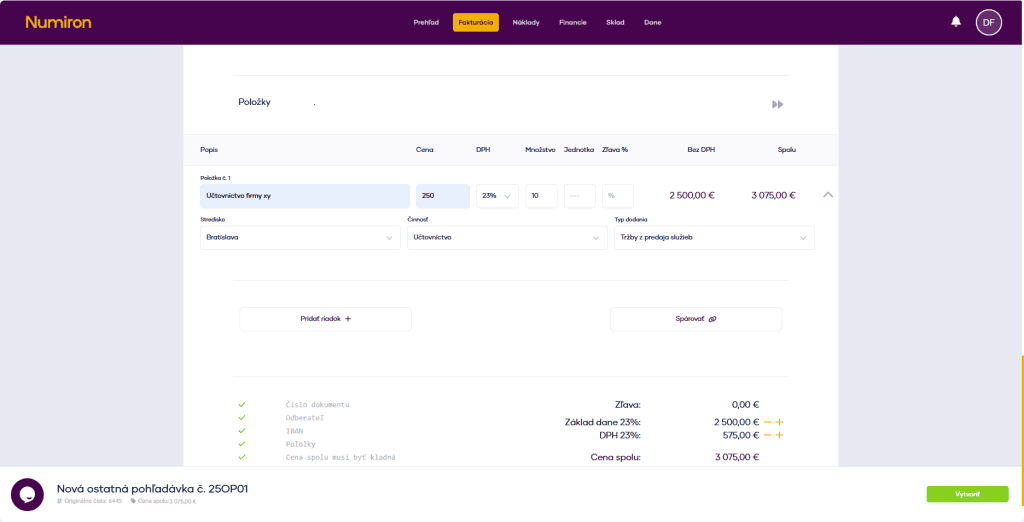
6. Items of other receivables
For each item, click on Add row and fill in:
the name of the item,
Price,
VAT rate,
quantity and unit,
discount (%).
You can optionally add: Centre, activity, contract, type of delivery - this data is used in reports and graphs.
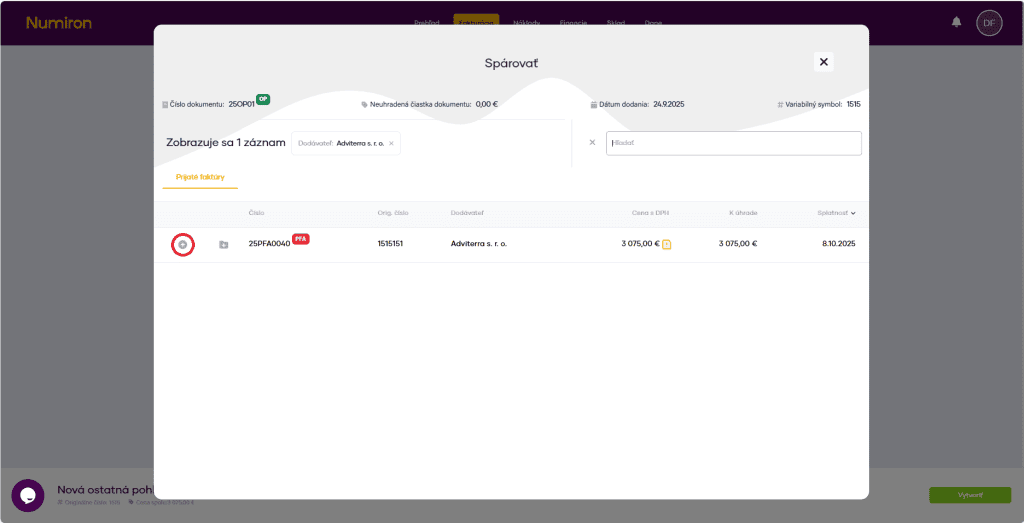
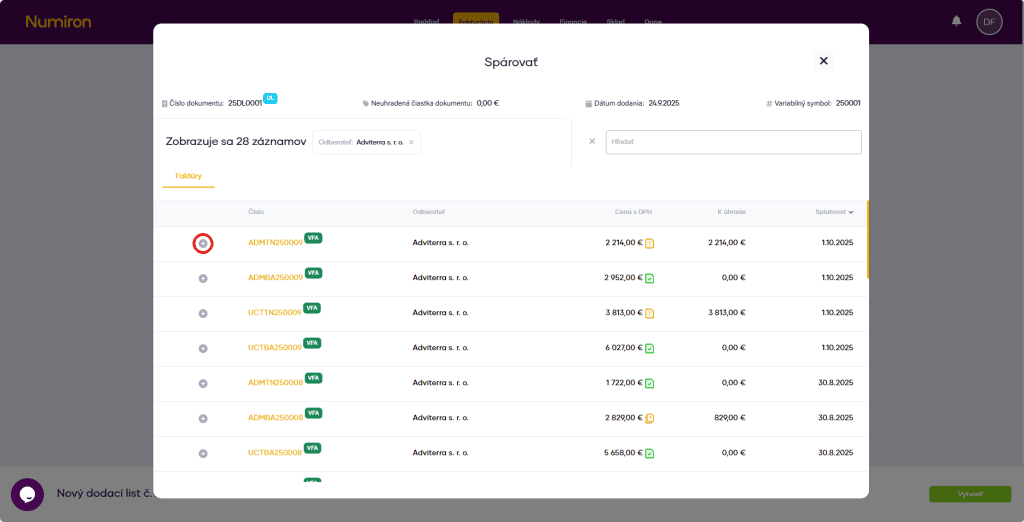
7. Pairing with another document
When you have completed the entries, press Pair up. You will then see the matching mode, where you can match the other receivable with the received invoice.
The delivery note proves the delivery of the goods or the provision of the service. In Numiron, you can create it quickly, clearly and precisely according to your needs.
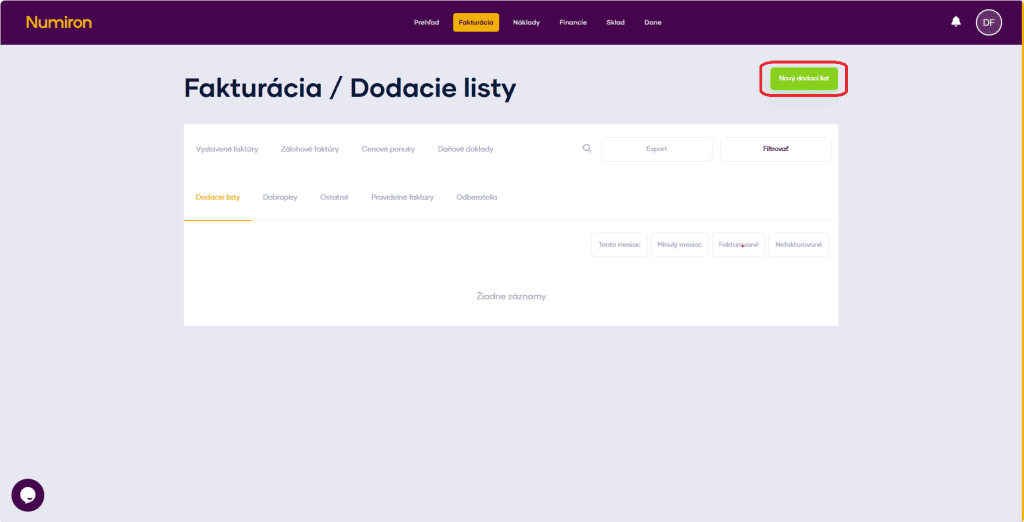
1. Where to find delivery notes
In the main menu, click on Invoicing and select Delivery lists.
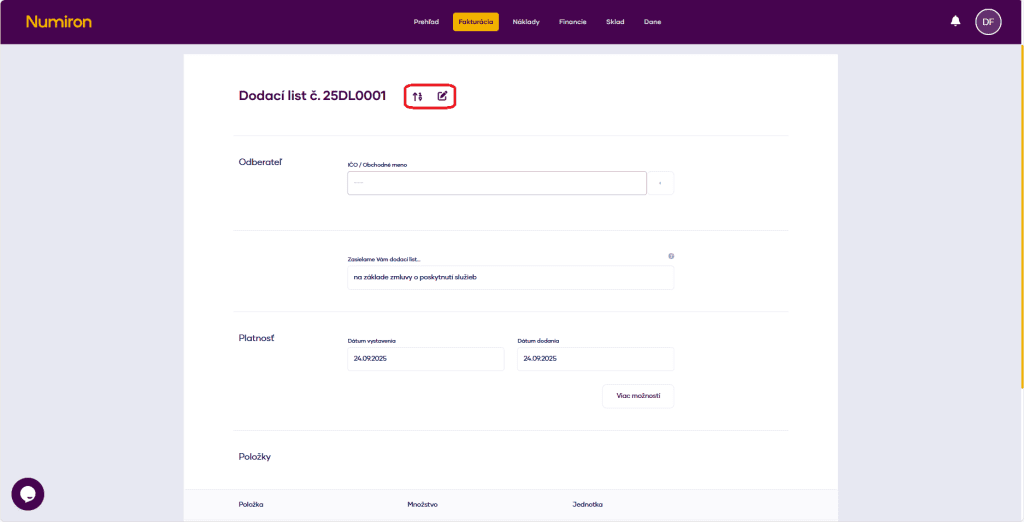
2. Create a new delivery note
Press New delivery note at the top right of the screen.
3. Basic data
Numerical series- select a preset queue or enterdocument numberManual.
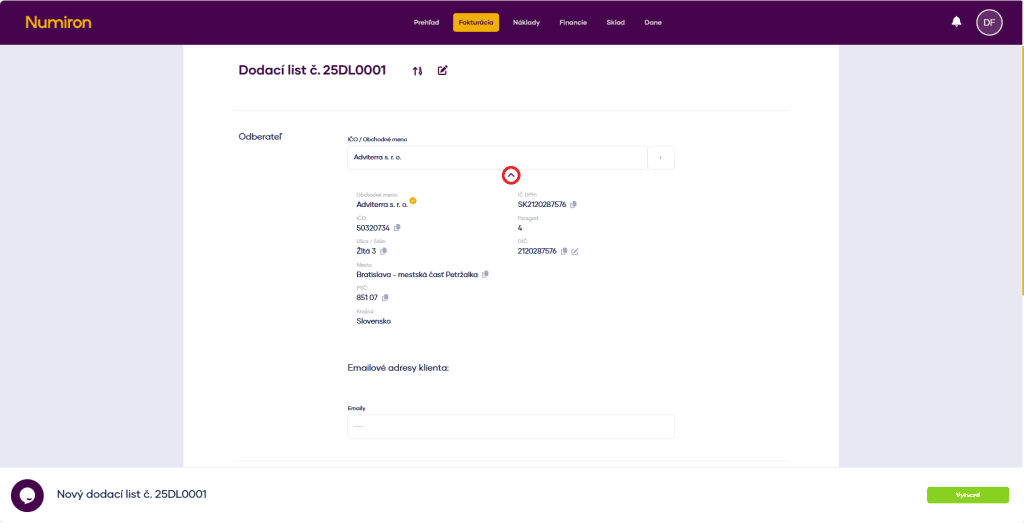
Subscriber- enter your company ID or name, or select from the saved contacts. Use the arrow below the name to check the details.
We send you a delivery note...- fill in the text that appears in the PDF header.
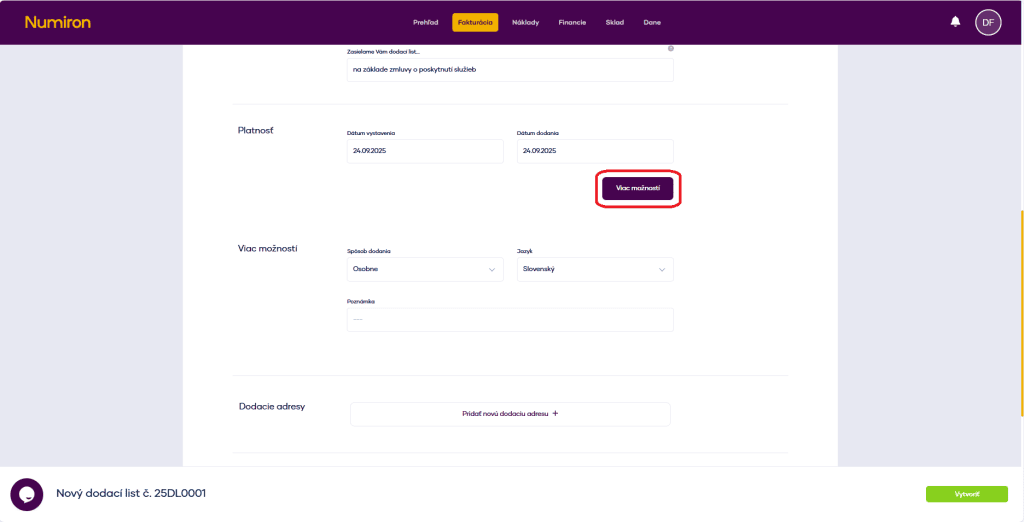
4. Select dates:
date of issue,
Date of delivery.
5. Multiple options (optional)
Click on More options and add:
method of delivery,
the language of the document,
Comment,
adding the address.
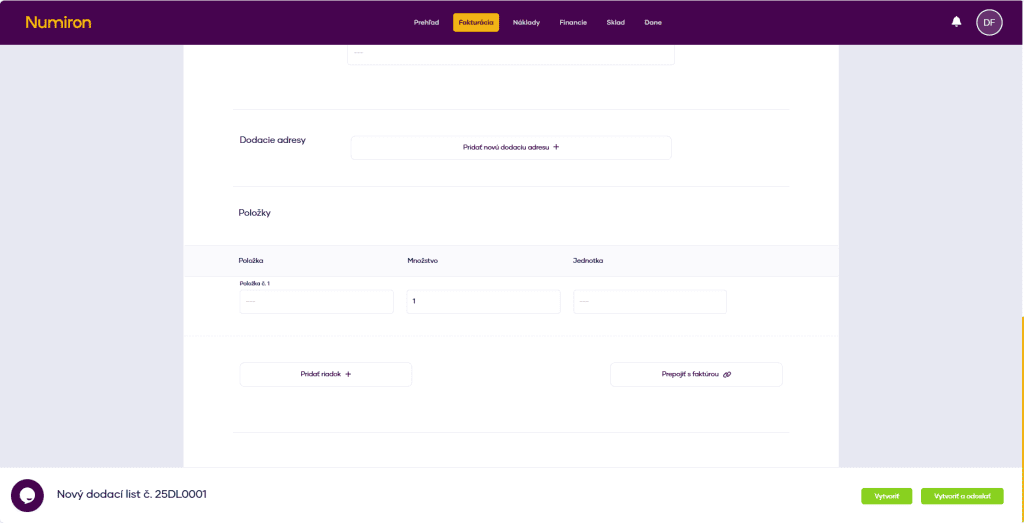
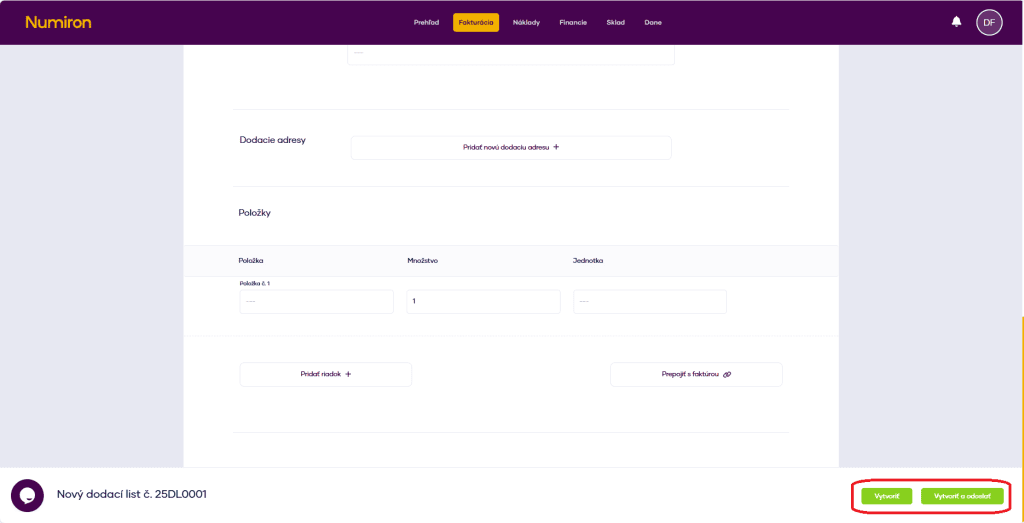
6. Add delivery note items
Click on Add row and fill in for each item:
item description,
quantity,
unit.
7. Link to invoice (optional)
When you have completed the entries, press Link to invoice and select the invoice to which the delivery note belongs.
8. Complete the creation
When you have everything filled in, pressCreate orCreate and sendto send the document by email.